basic_arduino_uno_dev_setup_in_linux_mint
Basic Arduino Uno Dev Setup in Linux (Debian-based)
Getting a basic development environment for the Arduino Uno up and running in Linux is straightforward. This uses the Arduino IDE.
- Open up Synaptic and install the “arduino” package. This will also install “arduino-core” and other dependencies.
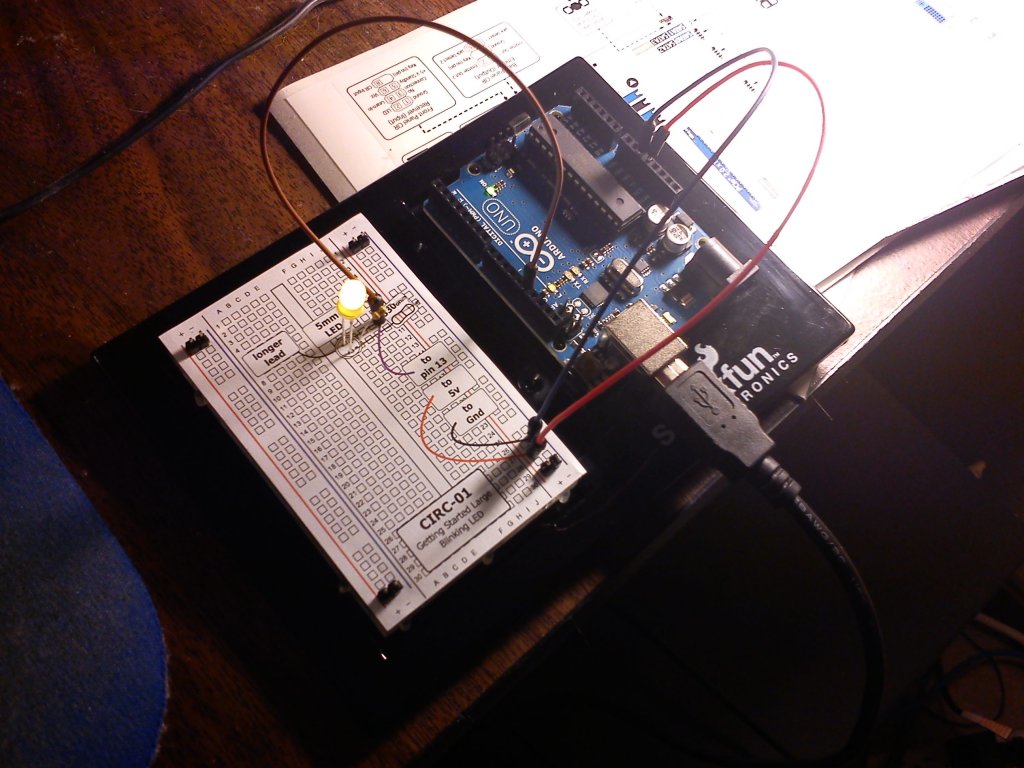
- Grab your arduino, a breadboard, some wires, a resistor, and an LED, and wire up a quick test. (I used the CIRC-01 project from the Sparkfun Inventor’s Kit guide).
- Connect the Arduino USB cable to your PC, then plug in the Arduino board.
- Start up the Arduino IDE.
- Go to “Tools”, “Board”, and make sure “Arduino Uno” is selected.
- Go to “Tools”, “Serial Port” and select the port that your Arduino board is using.
- Go to “File”, “Examples”, “Basics” and click “Blink”. This will load a very simple bit of code that will cause the LED you wired up to blink on and off.
- Click the “Upload” button. If all is well, then the LED on the breadboard should start blinking.
basic_arduino_uno_dev_setup_in_linux_mint.txt · Last modified: by jimc

